Table of contents (10)
- What is a store exit security gate and when do you need to install one?
- IntelliGate A8 gate specifications and recommended distance between the two panels
- Exit wider than the recommended spacing: split into lanes or add more pedestals?
- How does display shelf placement affect false alarms?
- How to reduce false alarms: eliminate interference sources around the pedestals
- Security gate installation process at the exit: 6 practical steps
- Summary table of terms and specifications to remember
- Common mistakes when installing exit security gates
- Gate acceptance checklist before handover
- Frequently asked questions

An RFID/EAS security gate at the exit is the last layer of protection for merchandise, but installing it at the wrong distance or placing shelves too close will cause the gate to trigger false alarms continuously, distract staff and annoy customers. This article guides you through surveying the floor plan, choosing the distance between the two pedestals, arranging display shelves and calibrating read power so the gate operates stably and reduces false alarms, based on manufacturer specifications and practical installation experience.
To install a store exit security gate correctly: measure the distance between the two pedestals according to the manufacturer's recommendation (IntelliGate A8 reads 1–2.4 m wide); if the exit is wider, split it into lanes or add pedestals. Place display shelves holding tagged goods at least 1.5–2 m away from the gate, and adjust read power to just enough. Eliminate sources of interference such as metal, rolling shutters and large electrical equipment. Always test with real goods and accept the installation against a checklist before handover.
Table of contents
- What is a store exit security gate and when do you need to install one?
- IntelliGate A8 gate specifications and recommended distance between the two pedestals
- Exit wider than the recommended distance: split into lanes or add pedestals?
- How does display shelf position affect false alarms?
- How to reduce false alarms: eliminate interference sources around the gate
- Exit security gate installation process: 6 practical steps
- Summary table of terms and specifications to remember
- Common mistakes when installing an exit security gate
- Gate acceptance checklist before handover
- Frequently asked questions
What is a store exit security gate and when do you need to install one?

An exit security gate is a device that detects magnetic tags or RFID cards that have not been deactivated when customers pass through, usually placed at the main entrance/exit. Fashion, cosmetics and accessories stores, retail chains or libraries with medium-value goods or higher and steady customer traffic should install gates to reduce shrinkage. A gate is necessary when goods carry EAS tags or RFID cards and staff cannot check every item.
In modern retail, security gates often combine two technologies: RFID UHF (long-range reading, inventory management) and EAS (traditional anti-theft). Some models such as IntelliGate A8 integrate both, allowing RFID card reading and EAS tag detection on the same gate pedestal. Depending on store size, you can choose a two-pedestal gate for one walkway or multiple pedestals for a wide exit.
See the deployment approach, equipment and phased roadmap on the loss prevention solution using RFID + EAS gates page.
IntelliGate A8 gate specifications and recommended distance between the two panels
Related products



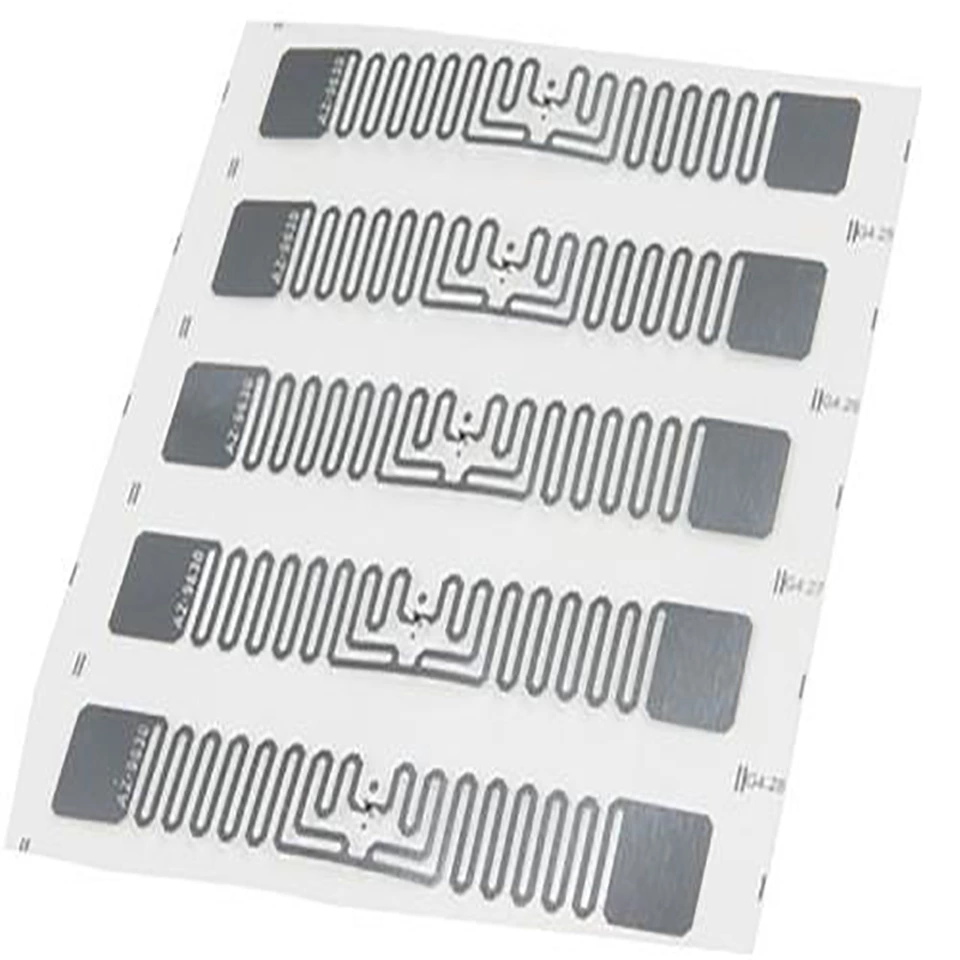
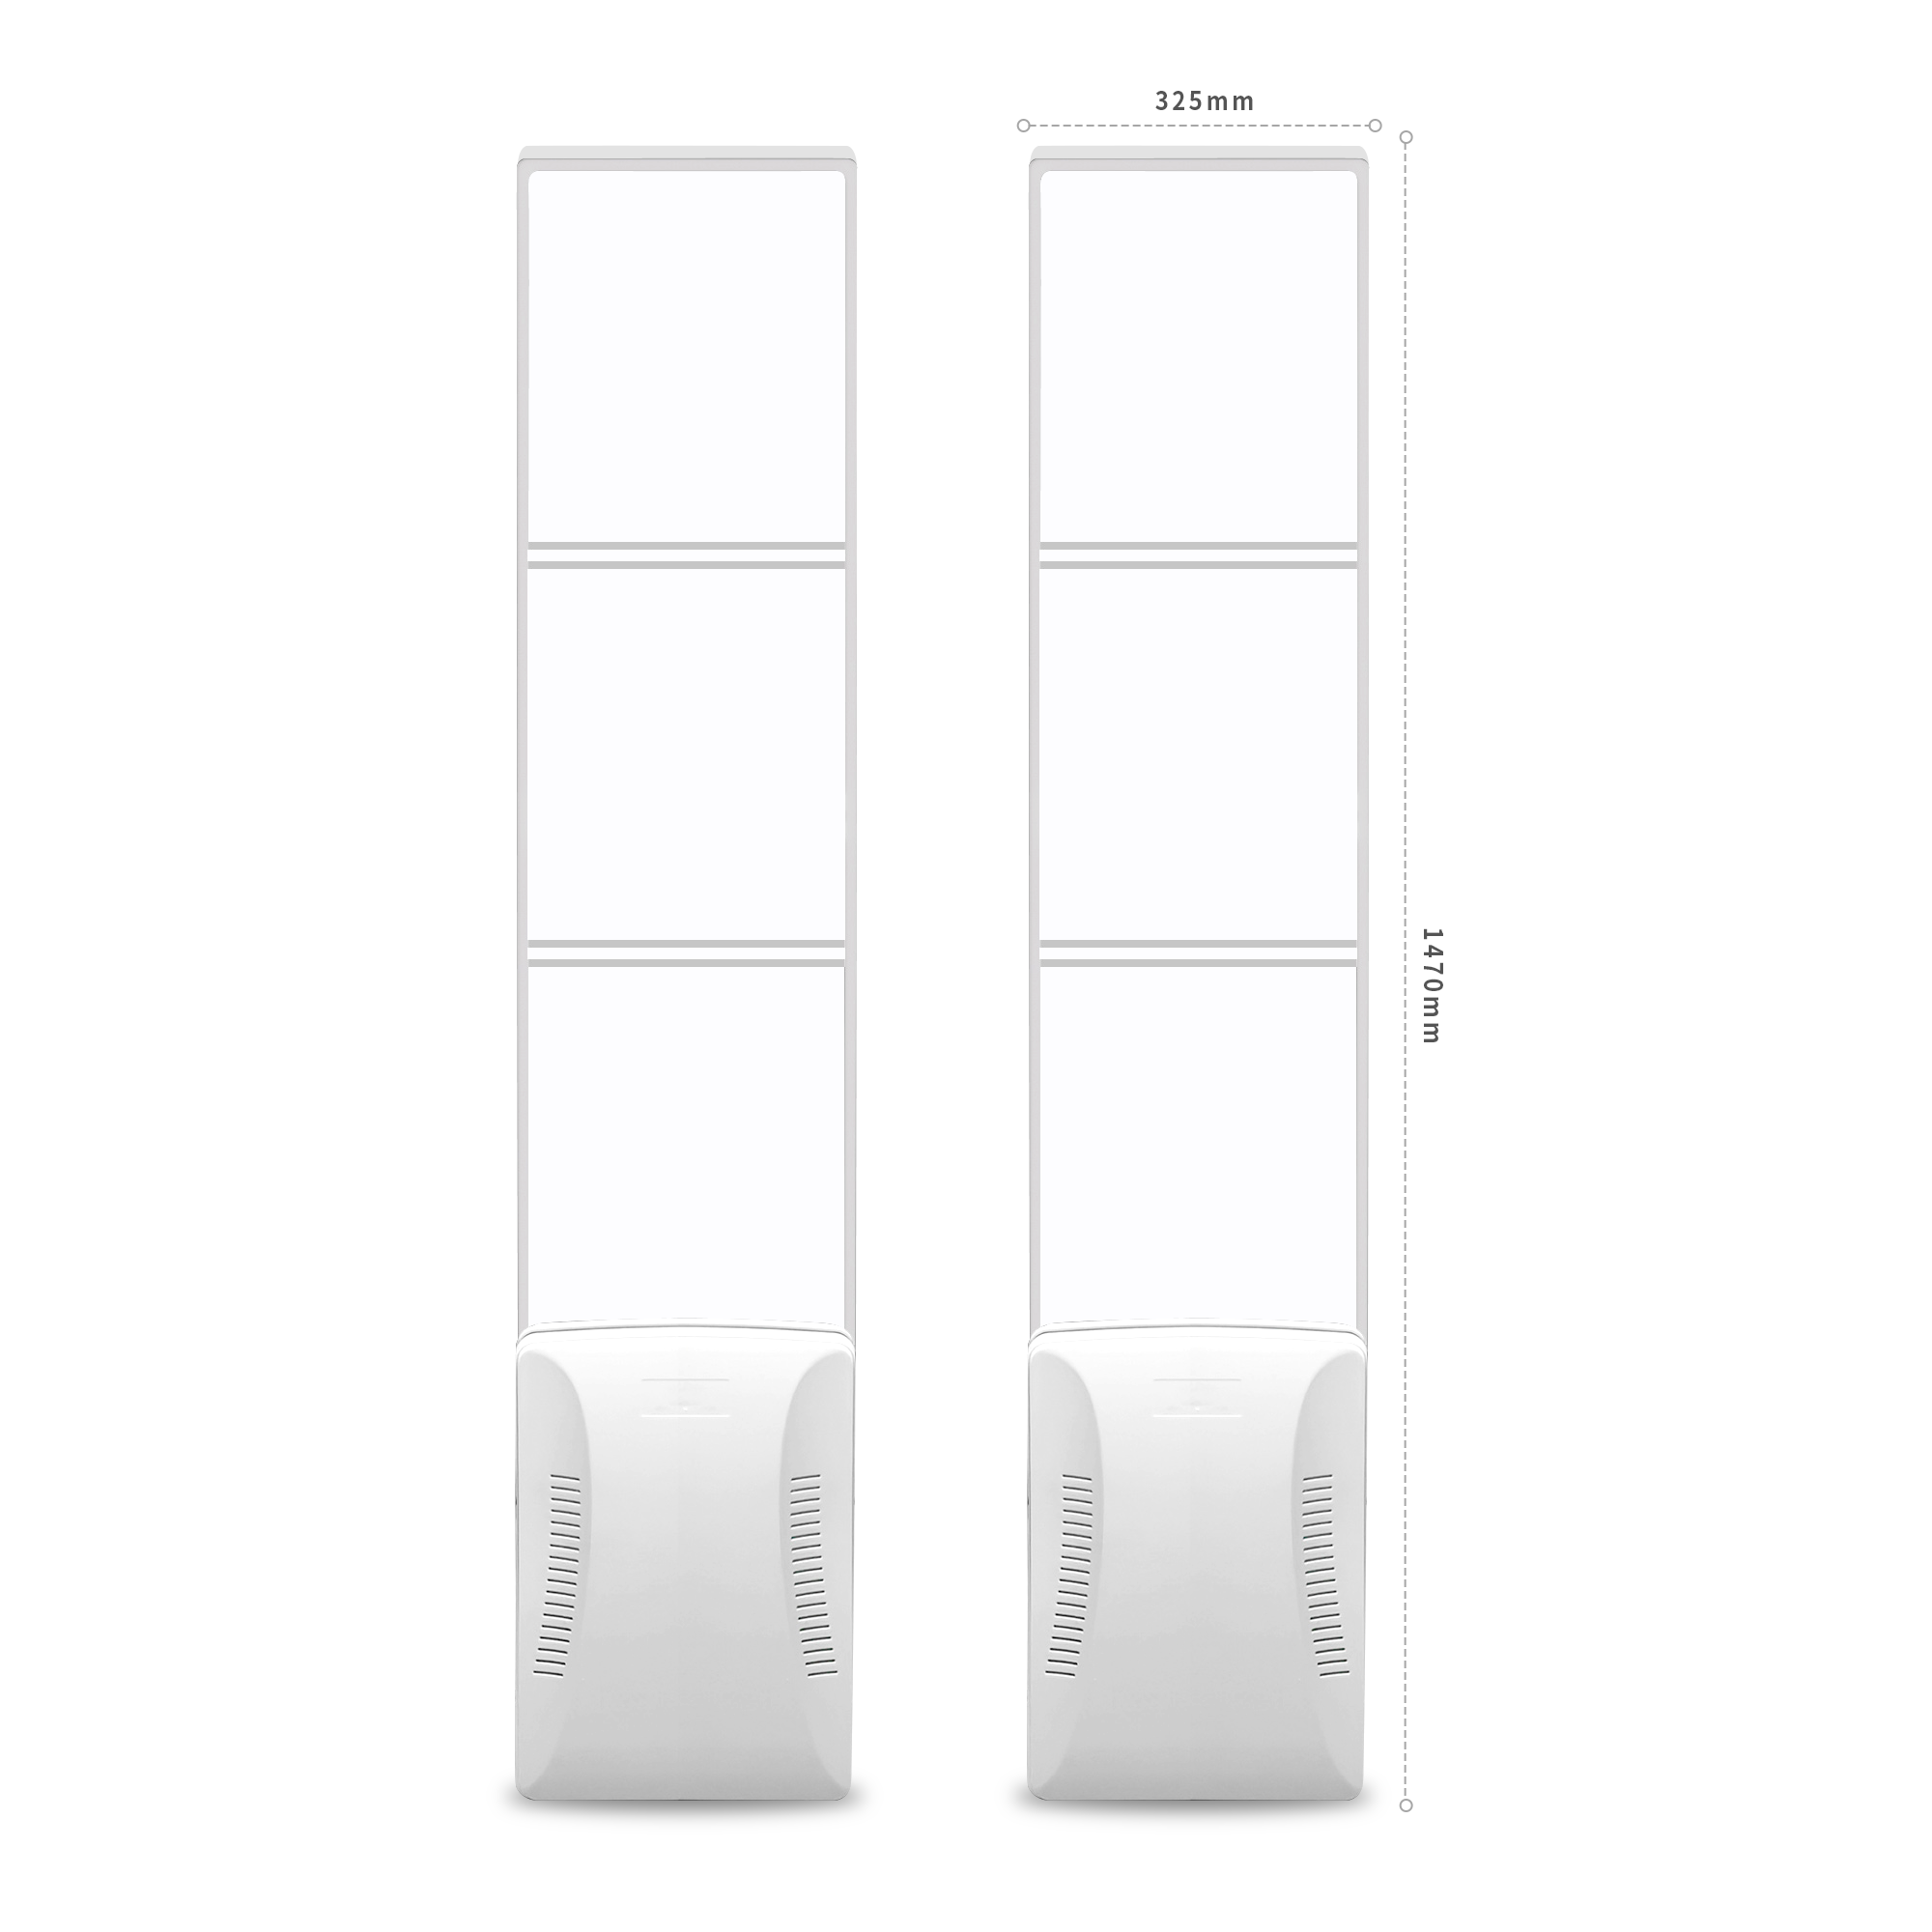
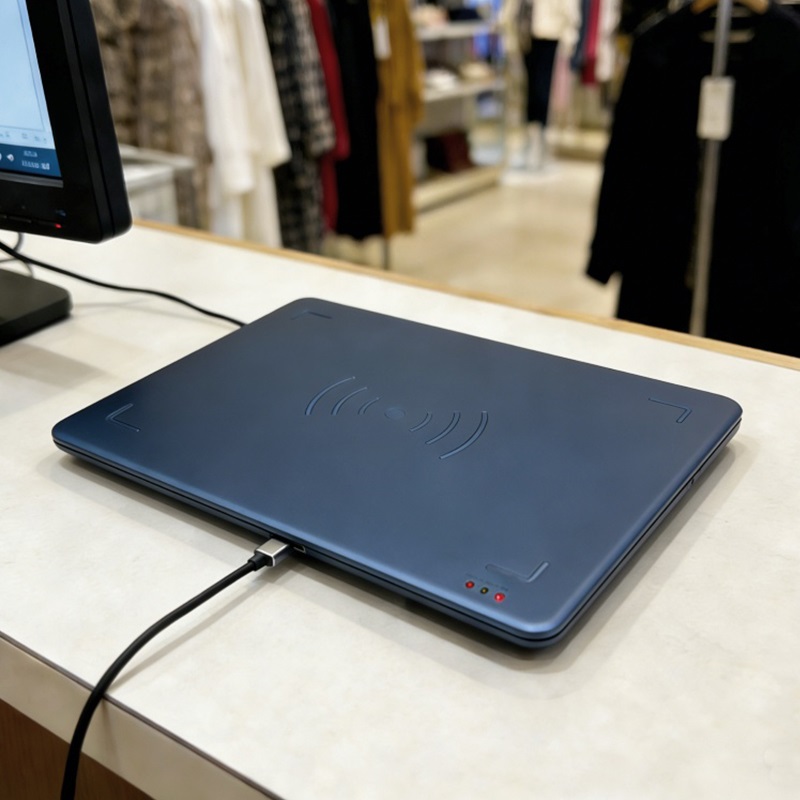
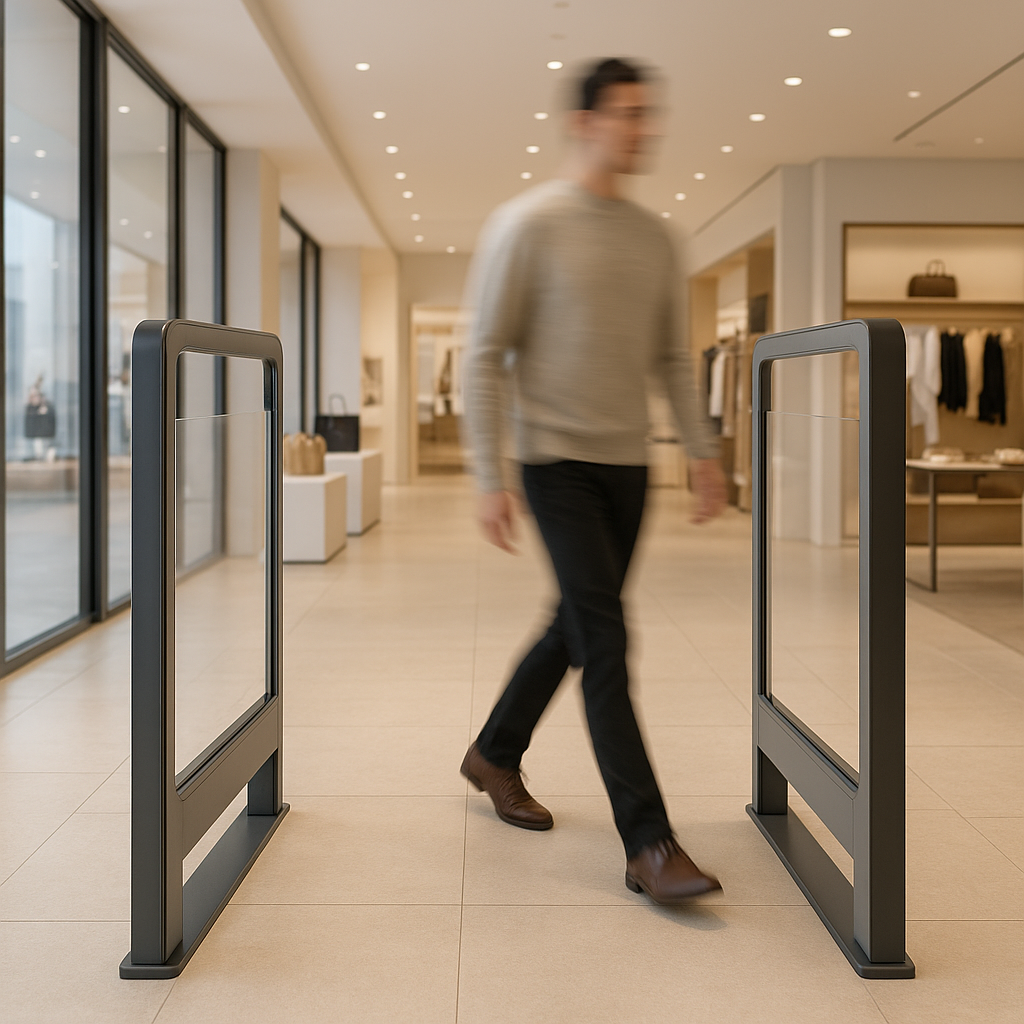
According to the manufacturer's specifications, the IntelliGate A8 gate has two panels, each measuring 1470 × 325 × 129 mm, with a transparent acrylic face and an ABS frame. The gate combines a UHF RFID reader (ISO/IEC 18000-6B/6C, EPC Gen2) and optional EAS, with an output power of 0–33 dBm and a suggested read width of 1–2.4 m. The distance between the two panels should fall within this range to ensure sensitivity and reduce interference.
When surveying the exit, you need to measure the clear opening between the two panels precisely. For the IntelliGate A8 gate, the manufacturer recommends a read width of 1–2.4 m. If the exit is smaller than 1 m, the power can be reduced to avoid reading into adjacent areas. If the exit is larger than 2.4 m, you should not try to stretch the distance, because the coverage area will be weak and tags are likely to be missed.
- Measure the clear opening: from the inner face of the transmitting panel to the inner face of the receiving panel.
- Check against the specifications: the IntelliGate A8 reads across 1–2.4 m, with a power of 0–33 dBm.
- Choose the location: place the gate where customers are required to pass through, with no shortcuts.
- Check the floor surface: level, strong enough to bear the load, and not vibrating when customers walk through.
For stores with an exit wider than 2.4 m, the solution is to divide it into multiple lanes or install additional panels. For example, a 3 m exit can use 3 panels to create 2 lanes of 1–1.2 m each. Dividing into lanes helps the gate read stably and reduces false alarms caused by waves spreading widely.
Exit wider than the recommended spacing: split into lanes or add more pedestals?

When the exit is wider than 2.4 m, you should split it into multiple lanes by adding more pedestals. Each lane 1–1.2 m wide is suitable for most EAS labels and RFID tags. Splitting into lanes helps reduce cross-interference between pedestals, increases accuracy, and still ensures convenient customer flow.
For example, a 3.6 m exit can be configured with 4 pedestals creating 3 lanes of 1.2 m each. With a 2.8 m exit, 3 pedestals creating 2 lanes is sufficient. Note that the spacing between pedestals within the same cluster must be uniform, avoiding lanes that are too wide and cause weak coverage. If you do not want to split into lanes, you can use higher-power pedestals, but you must check interference and test with real merchandise.
Adding pedestals also requires accounting for power and signal routing. The IntelliGate A8 supports RJ45/RS232/RS485 connection ports, with wiring run in-floor or surface-mounted. Technical boxes should be placed under the floor or behind the pedestals for aesthetics. For stores in operation, floor drilling must be done outside business hours.
How does display shelf placement affect false alarms?
Tagged merchandise display shelves placed too close to the pedestals will cause the antennas to read items on the shelf as well, causing false alarms or signal interference. Based on installation experience, a minimum distance of 1.5–2 m should be maintained from the shelf edge to the pedestal face. If space is tight, you can reduce read power and use tags with a suitable read range.
Merchandise on shelves with EAS labels or RFID tags still emits signals. If a shelf is within the pedestal's coverage area, the pedestal will receive continuous signals and trigger alarms even when no one walks through. To fix this, rearrange the shelves or adjust the power. With the IntelliGate A8, power can be adjusted from 0 to 33 dBm in 1 dB steps, allowing fine-tuning of the coverage area.
- Place shelves at least 1.5–2 m from the pedestals: measure from the nearest shelf edge to the pedestal face.
- Do not place shelves directly facing the pedestals: avoid the main emission axis.
- Adjust power to just enough: start at a low level and increase gradually until tags are read at the desired distance.
- Use tags with a suitable read range: UHF tags for apparel typically have a stable read range of about 1–2 m.
If the store has many shelves near the exit, prioritize placing untagged merchandise shelves (accessories, packaging) near the pedestals, while tagged merchandise shelves are placed deeper inside. This reduces background signals and helps the pedestals distinguish accurately when merchandise passes through.
How to reduce false alarms: eliminate interference sources around the pedestals
False alarms often come from electromagnetic interference sources such as large metal advertising signs, rolling shutters close to the pedestals, and high-power electrical equipment (refrigerators, air conditioners, electric stoves). These sources need to be surveyed and moved at least 1–2 m away from the pedestals, and electrical wiring and electrical panels near the installation area should also be checked.
Metal and liquids block RFID/EAS waves. Therefore, do not place pedestals close to rolling shutters, metal columns, or metal shelving. If installation nearby is unavoidable, use absorbing materials or adjust the antenna direction. With the IntelliGate A8, the flat antenna has a horizontal beam angle of 40±2° and a vertical beam angle of 60±2°, and must be aimed precisely at the walkway.
Common mistakes:
- Placing pedestals close to metal rolling shutters, where reflected waves cause interference.
- Hanging large metal advertising signs directly above the pedestals.
- Placing refrigerators or cosmetics storage cabinets within a 1 m radius around the pedestals.
- Sharing a power outlet with high-power equipment, causing power interference.
- Not grounding the pedestals, which easily builds up static electricity and causes false alarms.
In addition, check for defective EAS labels or damaged RFID tags. Labels applied incorrectly or with folded corners can emit abnormal signals. Before concluding that the pedestals are faulty, test with new labels and real merchandise to determine the cause.
Security gate installation process at the exit: 6 practical steps
The security gate installation process includes: site survey, determining position and spacing, running power and signal wiring, securing the gate pedestals, calibrating power, and testing with real merchandise. Each step must be carried out carefully to avoid having to disassemble and reinstall multiple times.
- Site survey: measure the exit, determine customer flow direction, record interference sources, power outlets, and shelf positions.
- Determine position and spacing: choose the spacing between the two pedestals according to the manufacturer's specifications (IntelliGate A8: 1–2.4 m), mark the drill holes.
- Run power and signal wiring: run wiring in-floor or surface-mounted, ensure a stable power supply, and ground the gate.
- Secure the gate pedestals: use expansion screws, level and align, and check that they are firmly fixed.
- Calibrate power: turn on the gate, adjust power from low upward until tags are read at the desired distance.
- Test with real merchandise: carry real merchandise with tags attached through multiple times, check for alarms and missed detections.
During installation, take photos of the existing conditions and record the power settings for easier handling later. For chain stores, standardize the configuration across locations so staff can operate it easily.
Summary table of terms and specifications to remember
The table below summarizes the key terms and specifications for installing security gates, helping store owners and technicians quickly cross-check during the survey and acceptance process.
| Term / Specification | Definition | Example / Reference value |
|---|---|---|
| RFID UHF | Ultra-high frequency radio identification technology, long-range reading | ISO/IEC 18000-6C, EPC Gen2 |
| EAS | Electronic article surveillance system | Frequency 8.2 MHz (per IntelliGate A8 specifications) |
| Spacing between two pedestals | Clear passage between the transmitting pedestal and the receiving pedestal | IntelliGate A8: 1–2.4 m |
| Read power | Transmit power level of the gate | 0–33 dBm, adjustable 1 dB/step |
| Coverage area | The area in which the gate can read tags | Depends on power, tags, environment |
Note that the table is for quick reference only; during installation, actual measurements and testing with real merchandise are required.
Common mistakes when installing exit security gates
The most common mistakes are placing the gate too far or too close compared with the recommendation, placing tagged merchandise shelves right next to the gate, and failing to eliminate interference sources. These mistakes lead to false alarms or missed merchandise, reducing the effectiveness of the investment.
- Not measuring the spacing before drilling: leads to disassembly and reinstalling, and patching the floor.
- Placing tagged merchandise shelves within the coverage area: causes continuous alarms.
- Ignoring metal interference sources: rolling shutters, advertising signs, steel columns.
- Not testing with real merchandise: testing only with sample tags fails to detect problems.
- Not grounding: the gate is prone to electrical interference and false alarms.
- Setting power to maximum: increases the coverage area too much, reading merchandise outside the walkway.
To avoid these mistakes, prepare a survey and acceptance checklist. Testing with real merchandise before handover is a step that cannot be skipped.
Gate acceptance checklist before handover
The acceptance checklist helps ensure the gate operates correctly before being put into use. Items to check include: spacing between the two pedestals, read power, shelf positions, interference sources, tag detection capability, and false alarms when no merchandise passes through.
- Re-measure the spacing between the two pedestals and compare with the manufacturer's specifications.
- Check that the read power has been recorded and is within the allowed range.
- Confirm that tagged merchandise shelves are at least 1.5–2 m from the gate.
- Check that there are no metal signs, rolling shutters, or large electrical equipment within a 1–2 m radius.
- Test with at least 5–10 types of real merchandise with tags attached, passing through multiple times.
- Let the gate run with no load for 10–15 minutes to ensure there are no false alarms.
- Check the lights, alarm siren, and backup power supply (if any).
- Hand over the instruction documentation and configuration specifications to staff.
If possible, measure the read rate across different types of merchandise and record the results for later comparison. For systems with network connectivity, check the API/SDK if integration with management software is needed.
Frequently asked questions
What is the standard distance between two security gates?
According to the manufacturer specifications of IntelliGate A8, the suggested read width is 1–2.4 m. However, the standard distance also depends on the tag type, power output and environment. Start with 1.2–1.5 m for a single-lane passage, then test with real merchandise to adjust. Do not exceed 2.4 m unless you divide the lanes.
How can false alarms be reduced when shelves are close to the gate?
Move tagged merchandise shelves at least 1.5–2 m away from the gate. If that is not possible, reduce the read power to the lowest level that still reads tags as customers pass through. You can use tags with a smaller emission area or shield the emission direction. Always retest with real merchandise after adjusting.
Can the IntelliGate A8 gate read both RFID and EAS?
According to the manufacturer specifications, IntelliGate A8 supports RFID UHF (ISO/IEC 18000-6B/6C, EPC Gen2) and optional EAS. The gate can integrate both technologies on the same panel, allowing EAS tag detection and RFID card reading. However, correct configuration is required, and both tag types must be tested before handover.
How many panels should be installed for a 3 m wide exit?
For a 3 m exit, install 3 panels to create 2 lanes, each about 1.2–1.5 m. For further optimization, you can use 4 panels to create 3 lanes. Dividing the lanes helps the gate read consistently and reduces cross-interference. Customer walking space and shelf positions must also be taken into account.
Is grounding required for security gates?
Yes. Grounding helps reduce electromagnetic and static interference and limits false alarms. The store's electrical system should be checked, and the gate must be properly grounded to standard. For gates with metal housings or located near high-power equipment, grounding is even more important.
How should real merchandise be tested before handover?
Select 5–10 types of real merchandise with tags that represent the store, and pass them through the gate multiple times at different speeds. Record the detected and missed cases. Also check merchandise placed on shelves near the gate. If the miss rate is high, adjust the power or tag positions. Only hand over when the results are stable.
For a site survey and read-rate measurement on real merchandise before installation, contact Việt POS via hotline 0935 498 384 or email info@vietpos.vn. The technical team will advise on distance, shelf positions and gate configuration suitable for your store.
Need advice on specific equipment or a solution?
Việt POS replies within 30 minutes · Hotlines in 4 regions · Free site survey.
Related articles